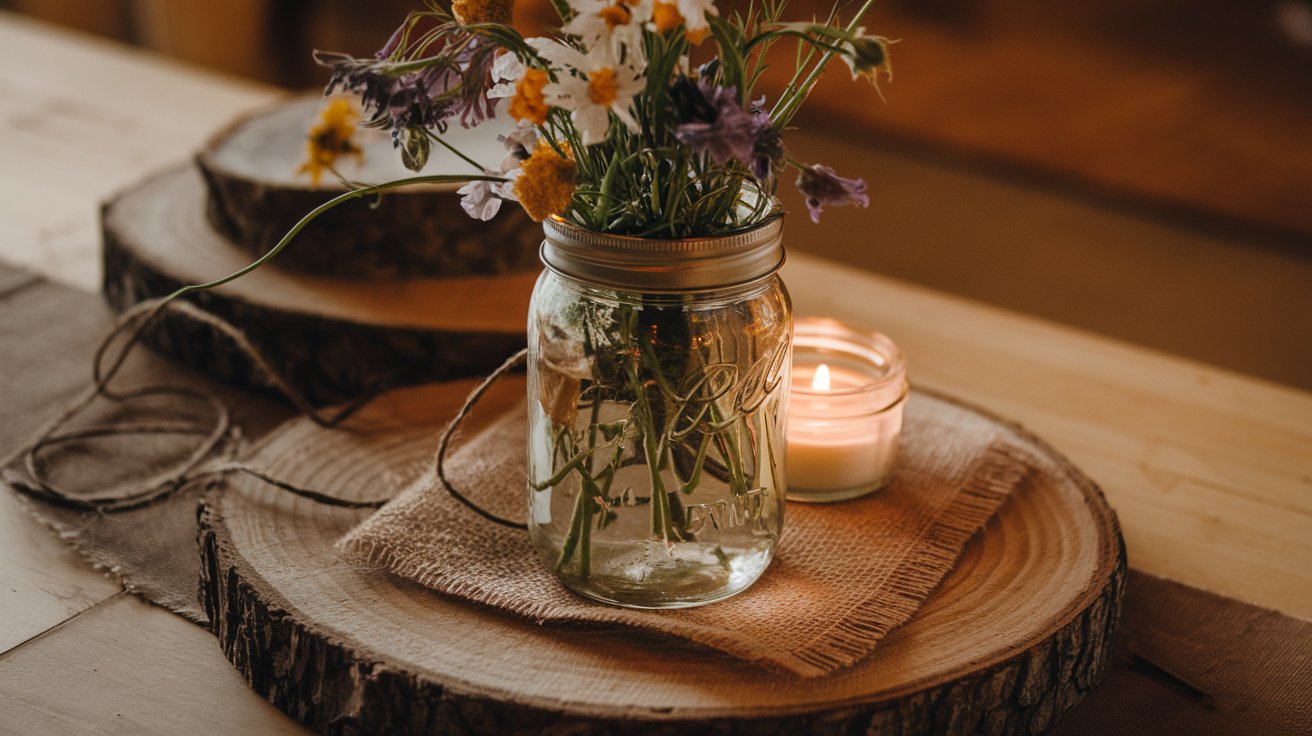
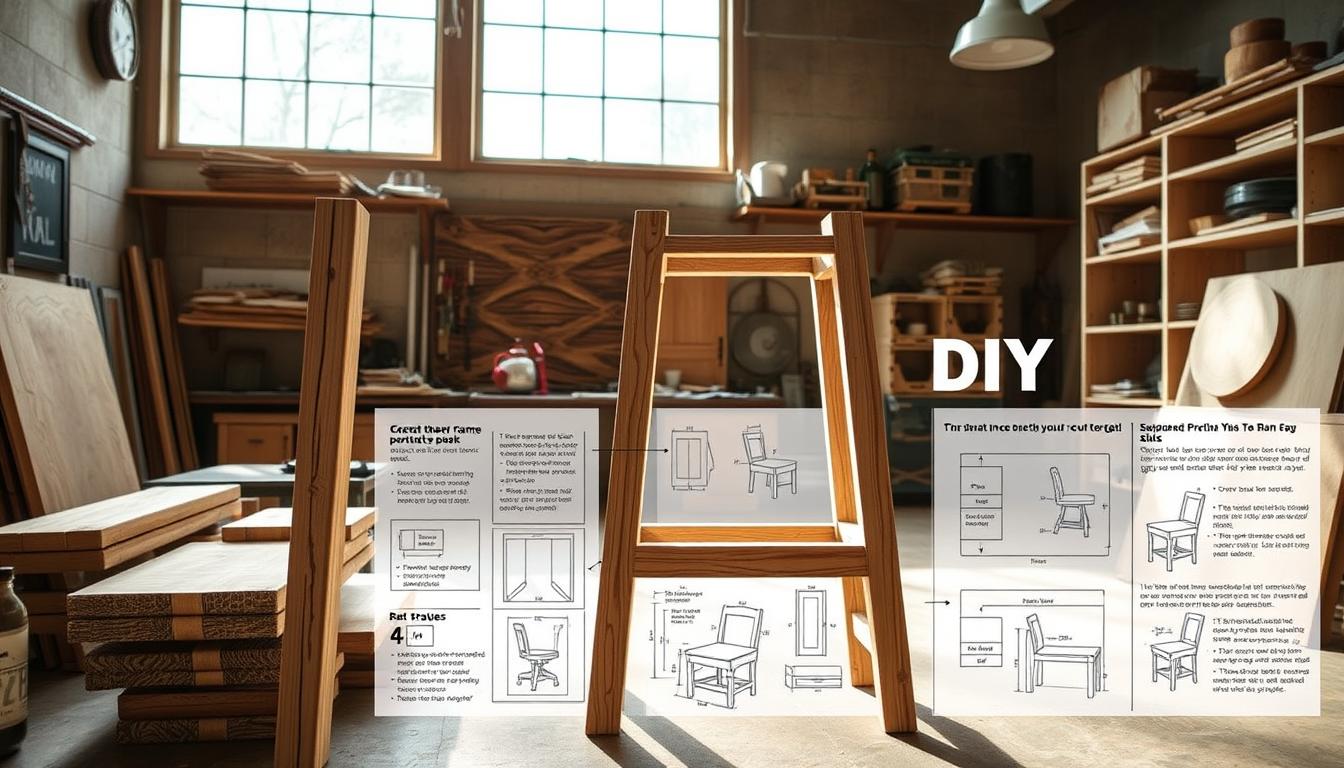
Imagine a cozy autumn evening with your dining table set. A rustic wooden box holds golden mason jars filled with sunflowers. This is the magic of a wooden box for flowers. It makes any space special.
This project is more than just building. It’s about creating something that tells a story. Whether it’s for a holiday, dinner, or to update your decor, a rustic centerpiece from reclaimed wood adds warmth and charm. It’s something that store-bought items can’t match.
Key Takeaways
- Build a DIY wooden centerpiece in 2-4 hours using affordable materials like a $5–$15 1x6x8 board.
- Reclaimed wood and Minwax stains create a rustic look preferred by 60% of DIY enthusiasts.
- Add personal style with Annie Sloan’s chalk paint for a distressed finish or decorative elements like twigs and acorns.
- Perfect for beginners—70% of DIYers find this project easy, and it doubles as a handmade gift with an 85% satisfaction rate.
- Customize with seasonal flowers, fitting 2-3 mason jars in its 24-inch by 5-inch design.
Every table needs a focal point that’s uniquely yours. This wooden box for flowers combines practicality with beauty. It uses reclaimed wood to honor sustainability and rustic charm.
With simple tools like 120- and 220-grit sandpaper, you can turn weathered planks into a 24-inch-long rustic centerpiece. It’s perfect for Thanksgiving or a spring brunch. This DIY wooden centerpiece fits any style. Let’s get started—your table (and your creativity) will thank you.
Why a Reclaimed Wood Centerpiece Box Will Transform Your Table
Turn any table into a stunning centerpiece with a reclaimed wood box. This eco-friendly choice turns old wood into beautiful art. Its unique marks tell a story of sustainability and style.
Benefits of Using Reclaimed Wood for Your Projects
- Eco-Friendly: It repurposes old wood, saving trees.
- Cost-Effective: A rustic wooden box is cheaper than store-bought ones.
- Unique Design: Each piece has its own weathered look, making them all different.
Popular Styles of Floral Wooden Centerpiece Boxes
| Style | Features |
|---|---|
| Farmer’s Market | Mason jars, acorns, mini pumpkins |
| Industrial | Exposed screws, dark stains, metal accents |
| Minimalist | Clean lines, light stains, single floral type |
| Coastal | White-washed wood, seashells, blue accents |
How Your Homemade Box Adds Rustic Charm to Any Setting
Customize your box with $7 spray paint or $5 wood stain. Add pillar candles for fall dinners or hydrangeas for weddings. You can change the flowers like $2 hydrangeas for each season. A 4-quart mason jar fits well in a 22.5-inch box, perfect for holidays or events.
Essential Materials and Tools for Your DIY Wood Box Project
To start your make a wooden box project, you need the right stuff. Use 1-inch thick boards for the frame, but ¾-inch is better. You can save money and get a cool look by using reclaimed wood like barn planks or pallets.
New pine boards are also a good choice if you’re on a tight budget. For the base, use ¼-inch hardware cloth. It lets water drain while keeping the soil in.
- Tools: Circular saw or jigsaw, miter saw, drill, Kreg Jig for pocket holes, tape measure, sandpaper, and a hammer.
- Hardware: 2-inch wood screws, galvanized nails, and decorative handles.
- Finishing: Wood stain (try OZCO’s outdoor formula), sealant, and optional rusted nails for vintage flair.
For beginners, a Kreg Jig is a big help. It makes it easy to put your DIY wooden centerpiece together with pocket screws. A nail gun can speed up the framing, but a regular drill works too.
When working with step by step instructions, pre-drill holes in reclaimed wood to avoid splits. A wood burning tool is a great way to add custom designs. It’s available for under $30.
“Reclaimed wood’s natural imperfections create unique patterns that no store-bought product can match,” says OZCO’s woodworking guide.
You can make your box your own by customizing handles, stains, or adding floral foam inserts. The 21”x4.5”x3.25” design can hold up to 10 pounds of soil, perfect for flowers. You can make it for under $20 using reclaimed scraps, compared to $50+ for new wood.
Use a tape measure to adjust the size and start building your rustic masterpiece today!
Floral Wooden Centerpiece Box: How To Make A Reclaimed Wood Box
Follow these step by step instructions to make your own reclaimed wood box. It’s perfect for holding wooden box for flowers. Start with these basic steps to keep your project safe and successful.
Preparing Your Reclaimed Wood
First, clean the boards with a wire brush to get rid of dirt. Use pliers to pull out any nails. For pallets, cut them carefully with a reciprocating saw.
Sand the wood with 120-grit paper first, then 220-grit for a smoother finish. A Dewalt orbital sander makes this step faster. Make sure the wood is completely dry before you cut it.
Measuring and Marking Your Pieces
For a standard 24″ long x 5″ wide centerpiece, use these dimensions:
| Piece | Dimensions (inches) | Quantity |
|---|---|---|
| Main Base | 24 x 5 | 1 |
| Sides | 5 x 4 | 2 |
| Bottom Panel | 23 x 4 | 1 |
Remember to account for the saw blade width when marking cuts. Use a pencil and straight edge to mark lines. This helps avoid warping.
Safety Precautions When Working with Reclaimed Wood
- Wear gloves, goggles, and a dust mask at all times
- Check for hidden nails with a magnet before cutting
- Ventilate the workspace when sanding or staining
- Use a Kreg Jig for precise drill holes if attaching hardware
Old wood can have splinters or residues. Always protect your hands and lungs first.
Crafting the Perfect Dimensions for Your Table Centerpiece
Choosing the right size for your table centerpiece box is key. Measure your table first. Think about how the wooden box for flowers will fit. A good plan saves time and materials.

Standard Sizes for Different Table Types
Rustic DIY wooden centerpiece sizes vary by table shape:
- Round tables: Go for square or circular boxes 12–18 inches wide.
- Rectangular tables: Long, narrow boxes work best (18–30 inches long and 6–8 inches wide).
- Small tables: Opt for 12×12-inch boxes for tight spaces.
Customizing Proportions for Your Specific Needs
Adjust sizes based on your needs. For instance:
- Floral arrangements need depth: Add 2–3 inches to the box height.
- Narrow tables: Try a 24-inch-long, 7-inch-wide box (like our example project).
- Seasonal decor: Build an 18-inch square box for versatile use.
Creating a Blueprint Before Cutting
Sketch your design first. Subtract ½ inch from each side for material thickness. Here’s how to blueprint:
- Measure and mark pieces: e.g., 22.5 inches long and 4 inches wide for the base.
- Remember wood thickness (e.g., 1/2 inch for side boards).
- Draw assembly lines on wood before cutting to avoid mistakes.
Using reclaimed pallet wood? Start with a 2×8-inch board to trim imperfections. Planning ahead ensures your wooden box for flowers fits perfectly every time.
Step-by-Step Assembly of Your Rustic Wooden Box
Start by laying out all pieces on a flat surface. Your rustic wooden box has a bottom piece (23″ x 4″) and sides that are 24″ long and ½” thick. Use clamps to hold joints while the glue dries.
- Attach the front and back panels to the bottom using wood glue and 1¼” brads. Pre-drill pilot holes to prevent splitting the wood.
- Assemble the ends. For stronger joints, use a Kreg Jig to drill pocket holes on the inside edges of side panels. Secure with 2″ pocket screws.
- Test corner alignment by placing a carpenter’s square at each corner. Adjust pieces until corners form perfect 90° angles before final tightening.
- Reinforce seams with wood filler where needed, then wipe excess glue with a damp cloth before drying.
“When making a wooden box, always pre-drill pilot holes first—it’s the key to avoiding cracked wood ends,” advises Woodcraft Magazine.
For extra stability, add a top frame using 1×2″ strips attached with 1″ brads. Use a cordless drill with a Phillips bit for fast screw driving. Allow glue to cure fully before moving to sanding steps. Remember to keep nail heads below the surface using a nail set tool for a smoother finish.
Pro tip: If using cedar strips for the base, apply a light sanding after assembly to maintain natural wood texture. The rustic wooden box design allows slight imperfections, so don’t stress over minor gaps—they add character!
Finishing Techniques to Enhance Your Wooden Flower Box
Turn your DIY wooden centerpiece into a masterpiece with these finishing tips. Whether it’s for a rustic wedding box or a farmhouse-style arrangement, the right techniques will protect and highlight its natural beauty.

- Minwax Dark Walnut deepens oak tones while Annie Sloan Chalk Paint in Old White creates a whitewashed look.
- Whitewash with a 50/50 mix of paint and water for a soft, sun-bleached effect.
- Highlight grain with clear linseed oil for a natural rustic wooden box finish.
Pro tip: Test stains on scrap wood first to avoid over-saturating pine or cedar. A light sand between coats ensures even absorption.
Styling Your Centerpiece: Flower Arrangement Tips
Turn your wooden box for flowers into a stunning centerpiece. It’s perfect for any table or entryway. Just swap out the flowers with the seasons. Pick blooms that match the box’s natural look.
Seasonal Flower Selections for Your Wooden Box
Choose flowers that match the season for your table centerpiece:
| Season | Flowers | Extras |
|---|---|---|
| Spring | Tulips, ranunculus, daffodils | Place eggs or pastel ribbons |
| Summer | Sunflowers, hydrangeas, zinnias | Add citron or mint sprigs |
| Winter | Evergreens, white roses, pine cones | Wrap twine or add tiny lights |
Using Floral Foam for Longer-Lasting Arrangements
- Cut foam to fit your box’s depth (4” recommended)
- Soak foam completely before placing in the box
- Secure with floral pins or hot glue
Tip: Use mason jars with foam for water-heavy blooms like peonies.
Complementary Elements to Elevate Your Display
Add depth with:
- Candles in mercury glass holders
- Fall: miniature pumpkins or cinnamon sticks
- Winter: red berries or faux snow
Hobby Lobby’s 50% off floral sale helps mix fresh and artificial blooms. For all-year beauty, try succulents or preserved moss.
Conclusion: Enjoying Your Handcrafted Floral Wooden Centerpiece
Your DIY wooden centerpiece is now ready to make any space better. It can be a table centerpiece box or a rustic centerpiece on a mantel. It’s made from materials like cedar, which lasts up to 15 years, or reclaimed wood. This mix of sustainability and style is perfect.
The box is sturdy, thanks to its 1-inch thickness. Its rustic finish adds warmth to any room.
Seasonal swaps keep your box looking fresh. Try swapping geraniums for fall mums, or add evergreens in winter. The wood’s imperfections only add to its charm.
70% of homeowners love unique, vintage-inspired decor more than mass-produced items. Use it as a gift or make smaller versions, like the Dandat box, for side tables. The Arricraft’s 9.6-inch design is great as a keepsake.
Pair it with plants like Golden Creeping Jenny or herbs like basil. Remember to reapply sealant every few years to protect against moisture. With basic tools and reclaimed wood, you’re part of a growing trend.
Share your finished piece on social media using #DIYWoodProjects to inspire others. Your handcrafted box is more than a container. It’s a statement of creativity that complements farmhouse styles and boosts home charm. Enjoy arranging blooms knowing your rustic centerpiece will last for seasons to come.


